Well packed, labeled sn:0005 with signature from the person who was responsible for testing and packing all together. It looks cool and trusty.
There were not any issues with custom clearance using the DHL services just the VAT and DHL custom services fee had to be paid of course.
The foams protecting the radio inside as same as the rest of accessories parts. Package includes radio, manual, packing list, mic, stereo jack3.5mm and 20cm of the power cable with XT60 power connector. This is now a common high amperage connector popular among the drone and r/c flyers. You will get a mating connector for this in your kit that can be soldered to any other kind of connector you may have on your power supply.
As the fully completed and tested radio has been ordered then the installation is easier and faster than in case of ordering unit without RASPi or even just assembled and tested transceiver PCB board.
After removing the radio from the box and plastic bag it is ready to plug in the power, antenna and run it.
Attention: As it is not allowed to shipping electronics with batteries installed (in fact it is possible but special declaration and shipping conditions setup are needed and HF Signals did not manage that with DHL yet) please be note that your radio has not installed the RTC battery on the board. It is button cell CR 2032 type, and you will have to install it into the radio on arrival. (I will post some short article and pictorial how to do it soon)
After switching ON your radio and booting up the RASPi the desktop will appear in few seconds. Touch the sBitx icon to launch the radio itself.
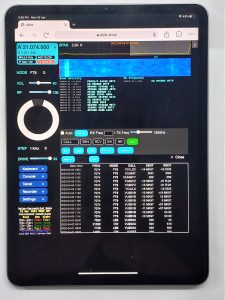
The sBitx application will launch the browser. You will need to type in the passkey. The initial passkey is “123”. You can use the on-screen keyboard to type it in or use an attached physical keyboard then press Start.
Following the manual as a first-time user, you have to add some basic information to your radio. In fact, you can skip that step and add these information's any time later but as it is just callsign, your location grid you can do it now ...don't worry, it will happen :)
Btw: you can set up also the CW input (paddle, pump key or keyboard at this menu if you want)
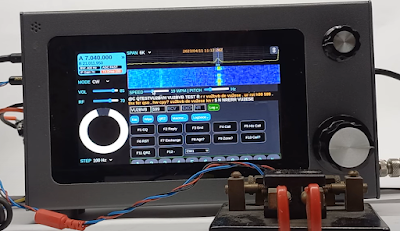
Your radio is alive and together with the well-known screen you will hear the noise from the band.
Congrats! You are on the air with your new beast.
First test on the air with large beam here.
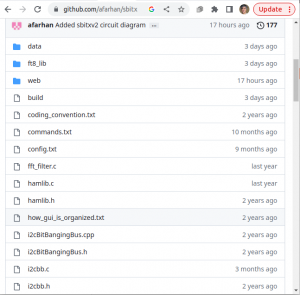
Open-source code and documents here.
Manual can be download here.
Orders can be placed here.
73 - Petr, OK1RP
.../-.-


